Why I Want To Do This
As you can see in my previous blogs, I have find the way to play Jupyter and OOMMF with my Android device. Also I can use the python package OOMMF to run OOMMF interactively. However, the OOMMFC is way worse than I think: by using it you will losing some very important features of OOMMF because it just creates and writes codes into a .mif file in a very limited way.
I still want to run OOMMF with Jupyter because I do not want to open a desktop environment for my phone. And I can using subprocesee.Popen to run OOMMF in command line. The results, .omf files, are created in the same folder where the .mif file locates and I want to get a animation in the Jupyter cell, which you can’t also do with OOMMFC.
How TO Realize The Animation
Let’s do this part by going through codes. Basically people use the function animation in package matplotlib to make the animation. The working codes can be like these:
import numpy as np
import matplotlib.pyplot as plt
from matplotlib.animation import FuncAnimation

# Create the fiture and object ln
fig, ax = plt.subplots()
xdata, ydata = [], []
ln, = plt.plot([], [], 'ro')
# Initialize the figure
def init():
    ax.set_xlim(0, 2*np.pi)
    ax.set_ylim(-1, 1)
    return ln,
# Update the figure according to the time sequence
def update(frame):
    xdata.append(frame)
    ydata.append(np.sin(frame))
    ln.set_data(xdata, ydata)
    return ln,
# Create animation
ani = FuncAnimation(fig, update, frames=np.linspace(0, 2*np.pi, 128),
                    init_func=init, blit=True)
# Show the animation
plt.show()
So everything is clear in the codes. Parameters in FuncAnimation tell us that we need a fig object to draw the pictures. By creating/initializing a element line: ln, and updating it using the update function, we can make our desired animation. Finally, we use plt.show() to show the animation repeatedly.
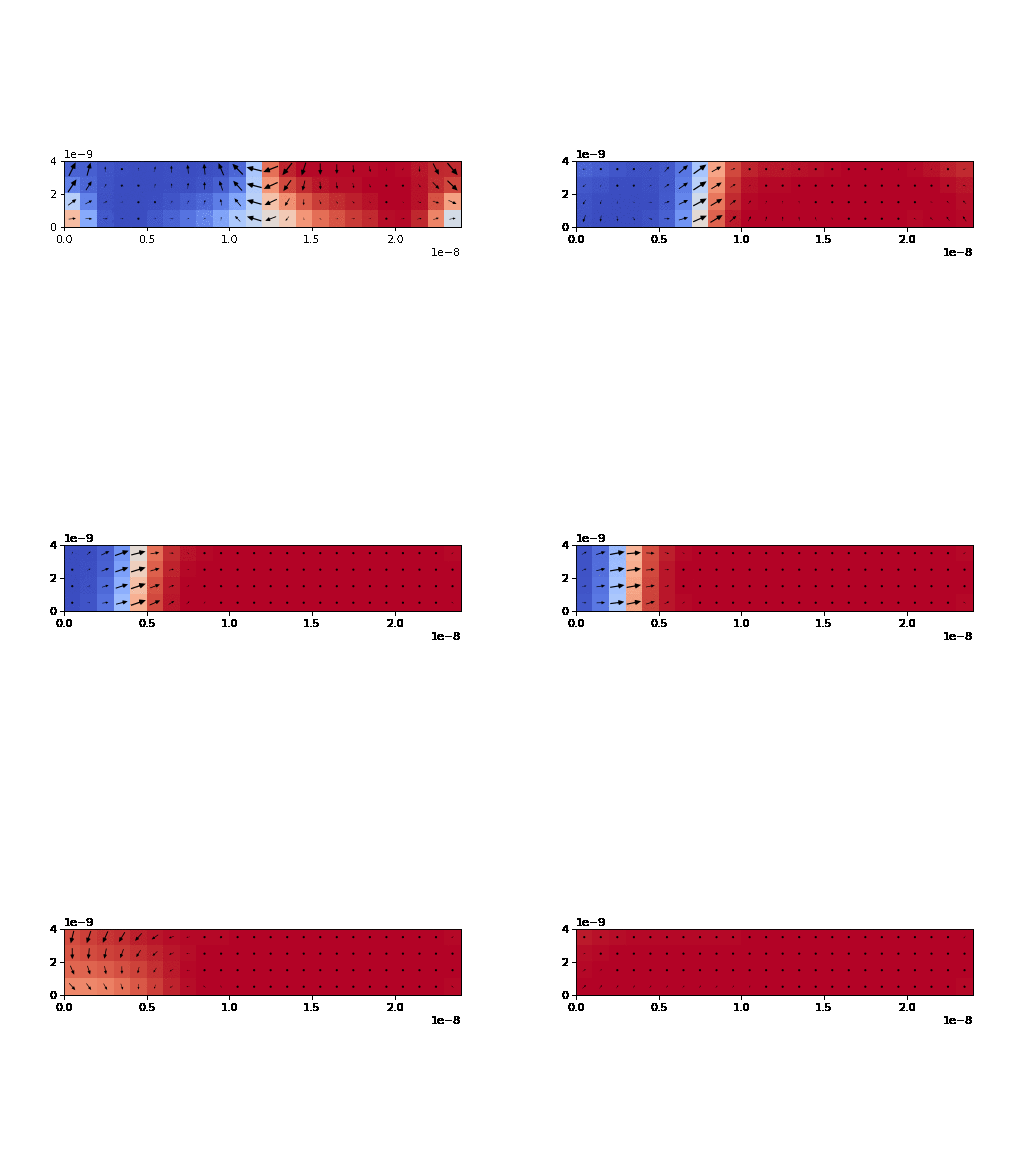
In my case, I draw the figure using quiver and imshow function, so I need to update them accordingly. The result is like this:

Also you can download the gif file use command:
ani.save(gif_name, dpi=80, writer='imagemagick')
Another advantage of this is that Jupyter itself as an text editor can be used to edit the .mif file very freely.
Finally, I have equipped my Xiaomi 6 so as it can run OOMMF anywhere I want. And it gonna be better at some place I can control my phone through the local area network with any computer under that local network.
Now I can do my graduation design with OOMMF basically everywhere ![]() .
.
A New Repository About Running OOMMF In A Different Way
I want to write all of what I did recently with OOMMF into a new repository in Python to help people use it more comfortable and get better experience.
If this repository is still empty, you are free to contact me to complete it and any other question is welcomed ![]() !
!